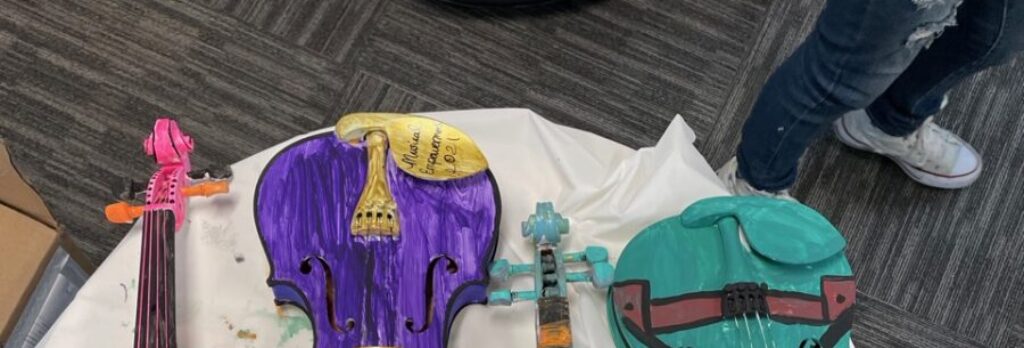
How to Paint a Violin
August 17, 2021
Since the beginning of quarantine, we’ve seen a great uptick in our instrument donations. Perhaps while spending more time at home, folks realized they had instruments or music books sitting around that could benefit someone else. Specifically, a young student just beginning their musical journey. We have happily re-homed many instruments and are grateful for our community donors!
However, sometimes we get instrument donations that aren’t in the best shape and aren’t worth the cost of repair. Never fear, we have a great purpose for those instruments, too! After expert advice told us 5 of our violins were not in good enough shape to give to students, we got our college student musicians to try their hand at another art form.
Check out these easy steps to create your own painted violin masterpiece!
- Prime the violins and gather supplies (prepare to get messy!)
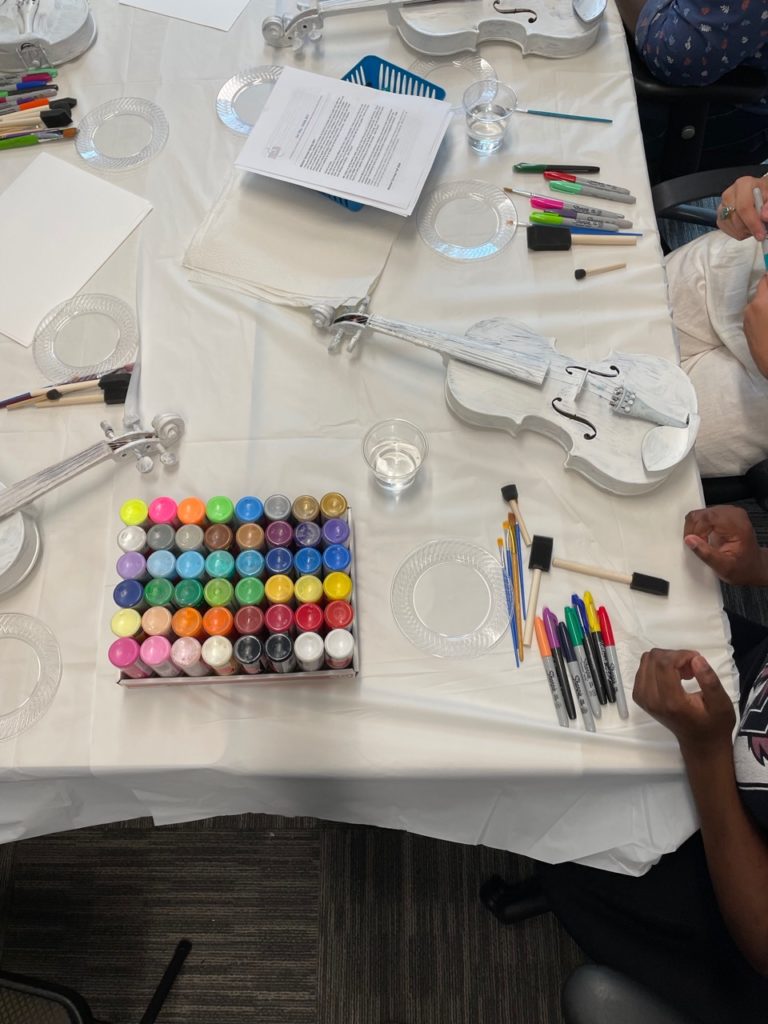
2. Gather your friends and work on your vision. In this case, we brought in some extra support from our partners at the Art Therapy Institute – check them out!
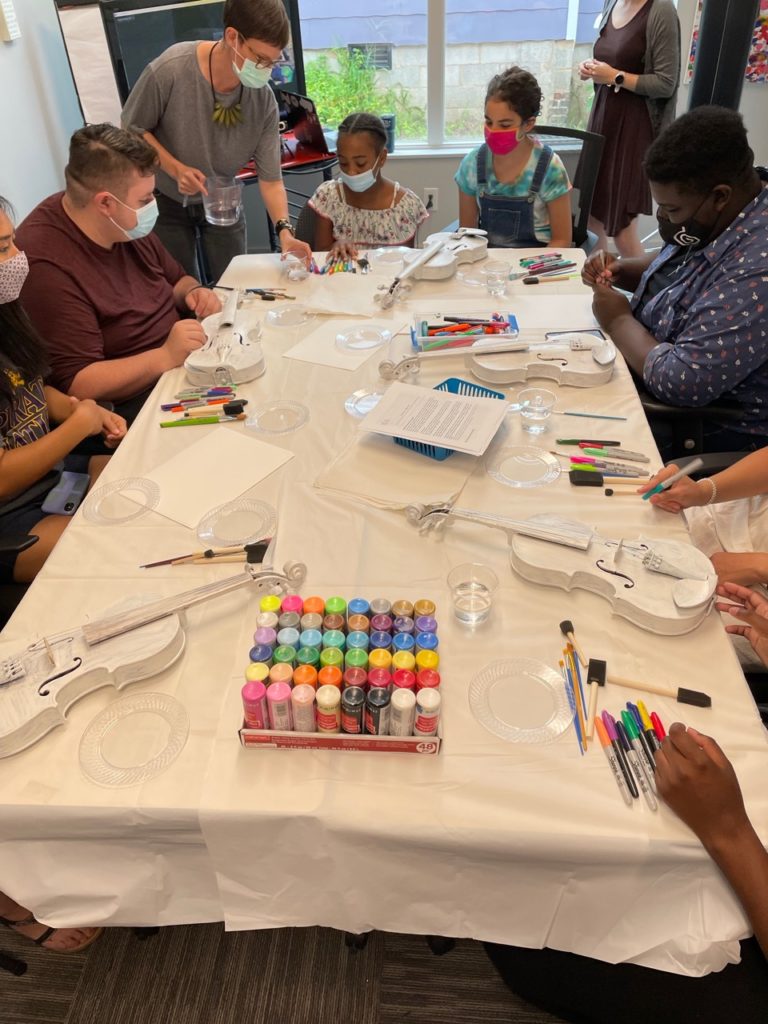
3. Take the plunge and get started! It may take a bit to feel comfortable painting on a violin (especially for our musicians), but the first stroke is the hardest!
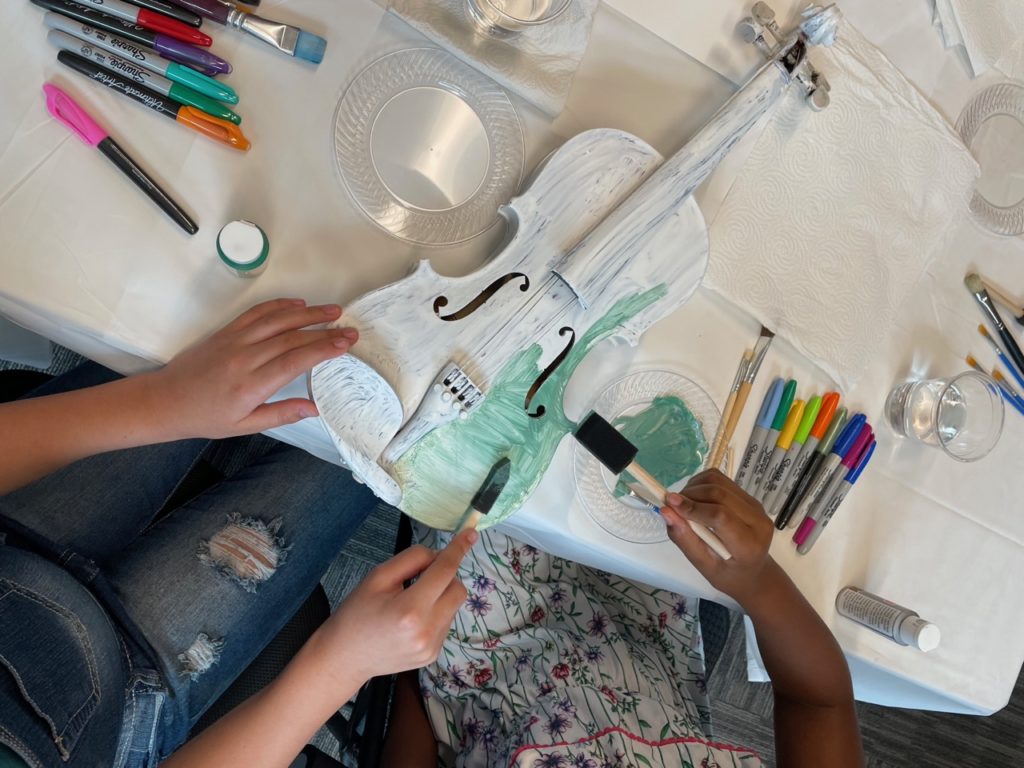
4. Keep the creativity flowing! Experiment with different paint combinations to get it just right.
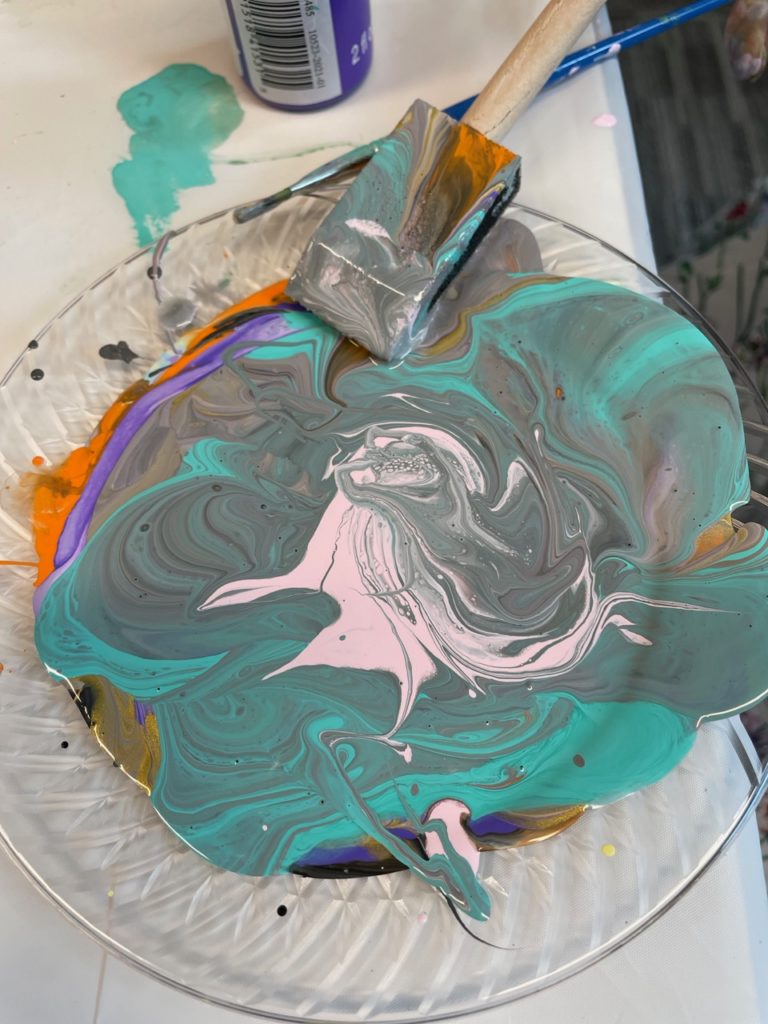
5. Keep up the good work! It helps to play some calming music while you work.
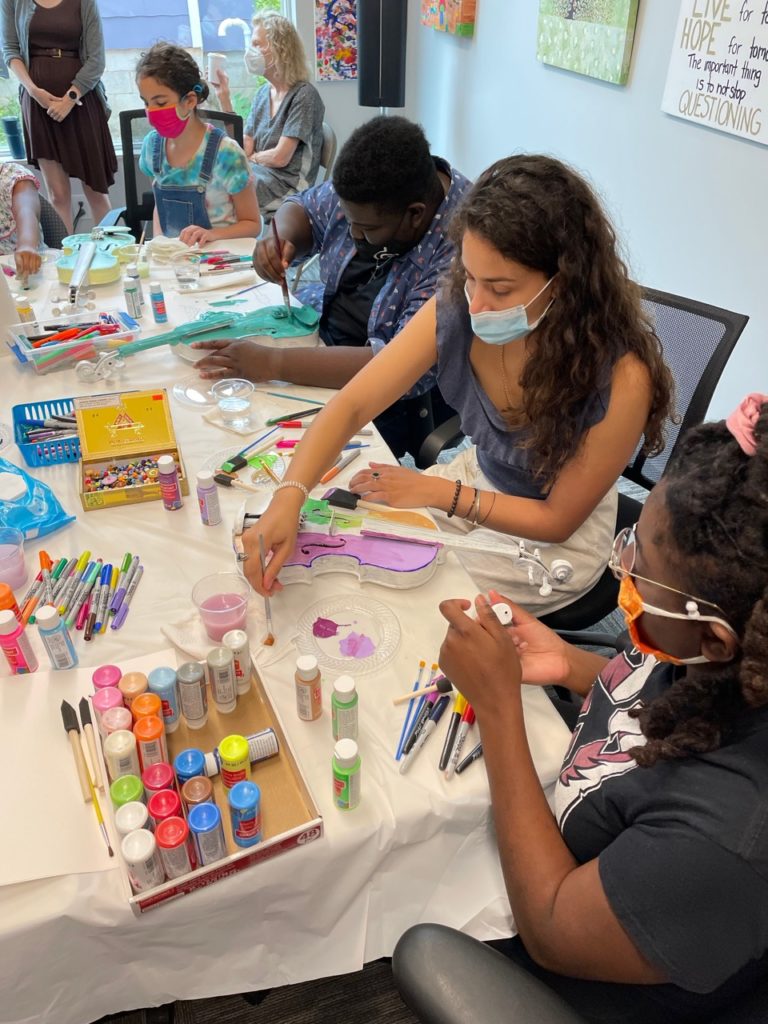
6. Show off your finished product! It was not documented in the photos, but our friends at the Art Therapy Institute brought hair dryers so we could speed up the drying process.
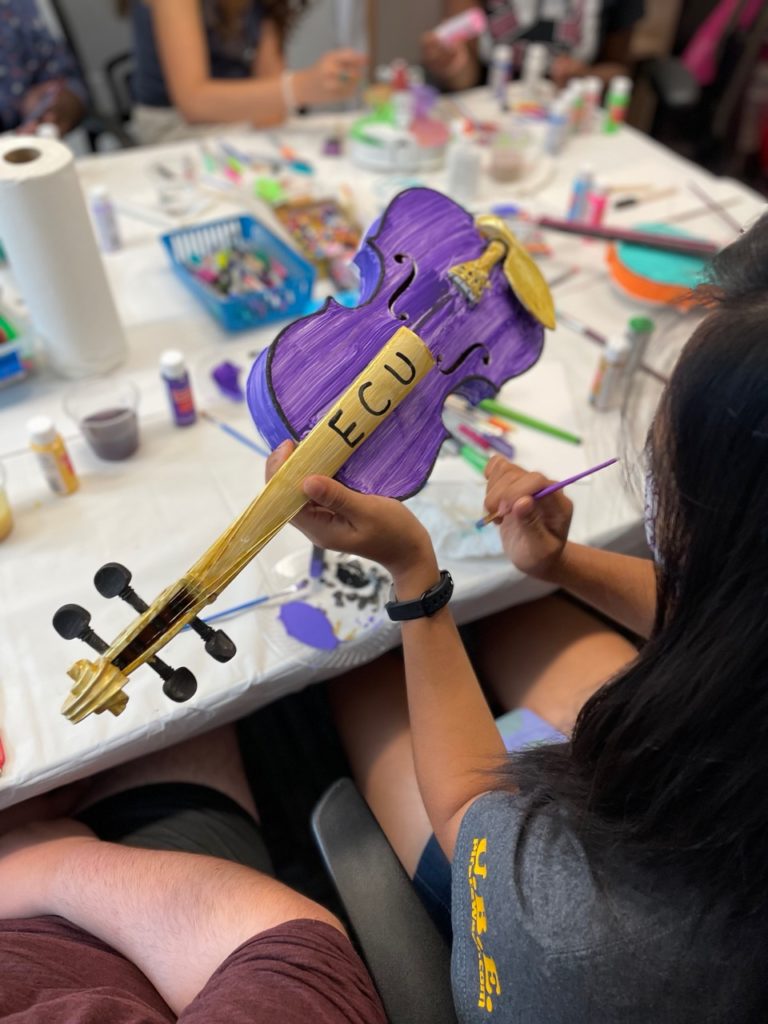
7. And you’re done, time to celebrate! The final step is to figure out what to do with your finished violin(s). We are still open to ideas on that one!
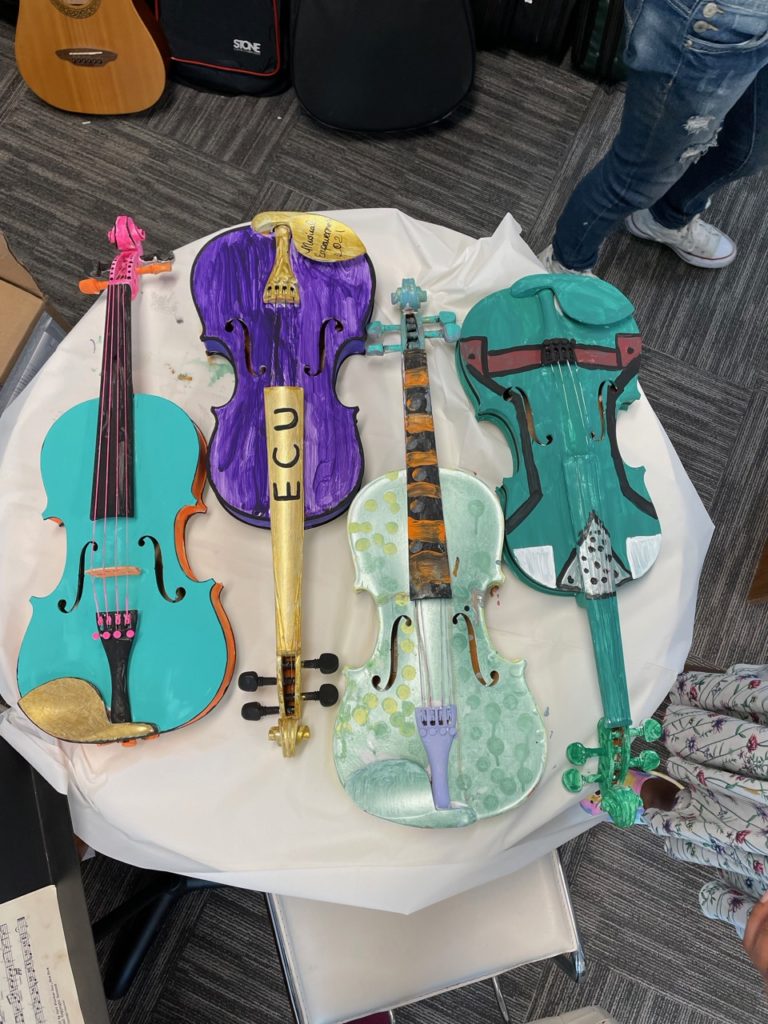
This was such a fun project and the results speak for themselves! Thanks again to the Art Therapy Institute for making this project come to life!
Do you have an instrument you’d like to donate to Musical Empowerment? We promise to find it a good home OR turn it into our next spectacular art piece ?